
Your Cart is empty


This is the only time it is ok for your hair to get knotted. It is never too late to give your hair a well-deserved heat break and try out a brand new look all in one go. So if you find your hair looking a bit frizzy or feeling dry don’t go for the straighteners, read this blog instead. This look is a very game of thrones so if you have grey ombre hair extensions grab them, they will look amazing with this style. Keep reading this step by step guide to get this hot look yourself.
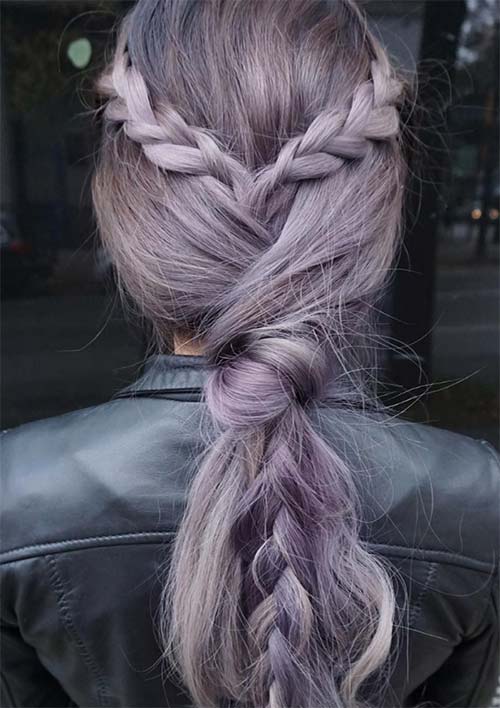
Create a part
Create a centre part running from the front of your hairline to the top of your crown, in line with the top of your ears. Create two triangles near the front from the tip of your centre parting at the crown down and outwards towards your temples. The bottom bit will be the big show stopper so if you are going to add extensions add them around the back of your head so your hair is long and thick.
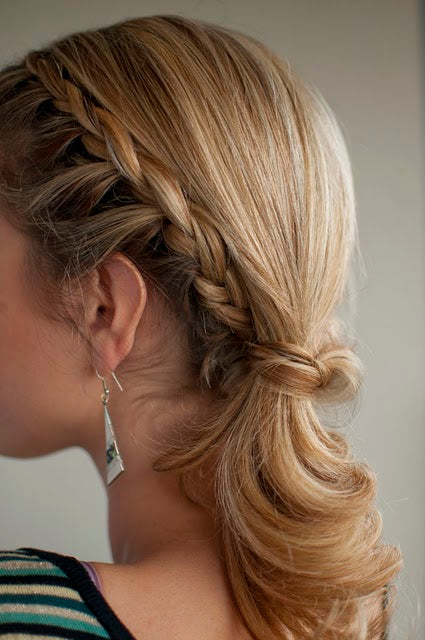
Making the top braids
Divide one of your triangles into three sections and create a braid. Secure at the ends and tug on the sections to create a pancake braid. Repeat on the other side, cross the braids over each other and tie up with a hair tie where they cross. To hide your hair tie take a strand from the back and wrap it around your hair tie.
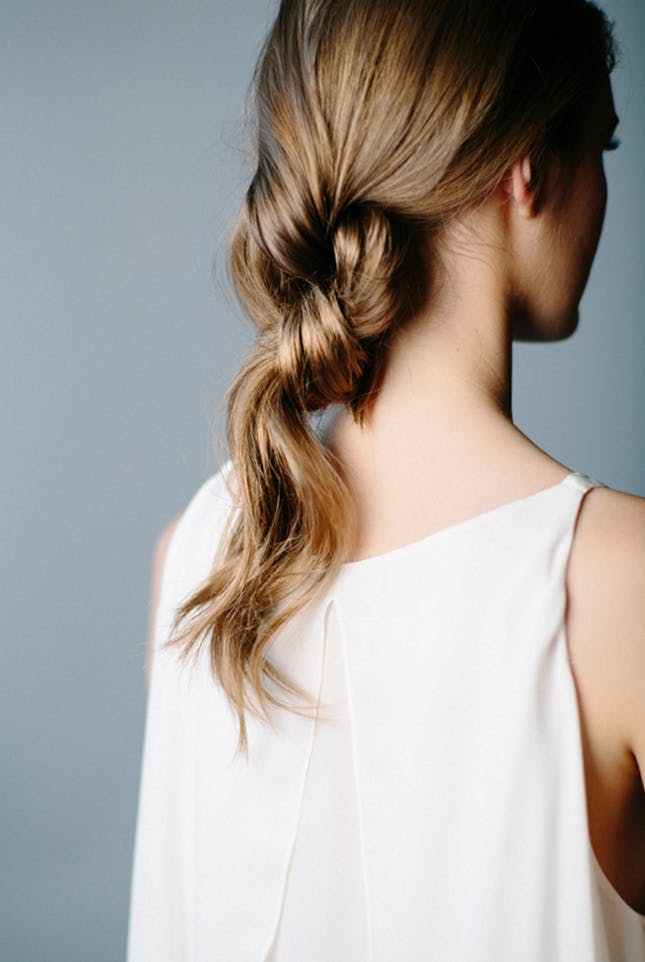
Forming your base
Now you have the top section sorted, let’s focus on the bottom. Divide your hair into three equal parts, putting either end over your shoulders to keep it out of the way. Make sure that you include your braided ponytail in the middle section. Take the right third, draped over your shoulder and cross it over the middle part. Then, take the left section and cross it over both sections. Wrap them underneath the middle section and cross them over the top again.
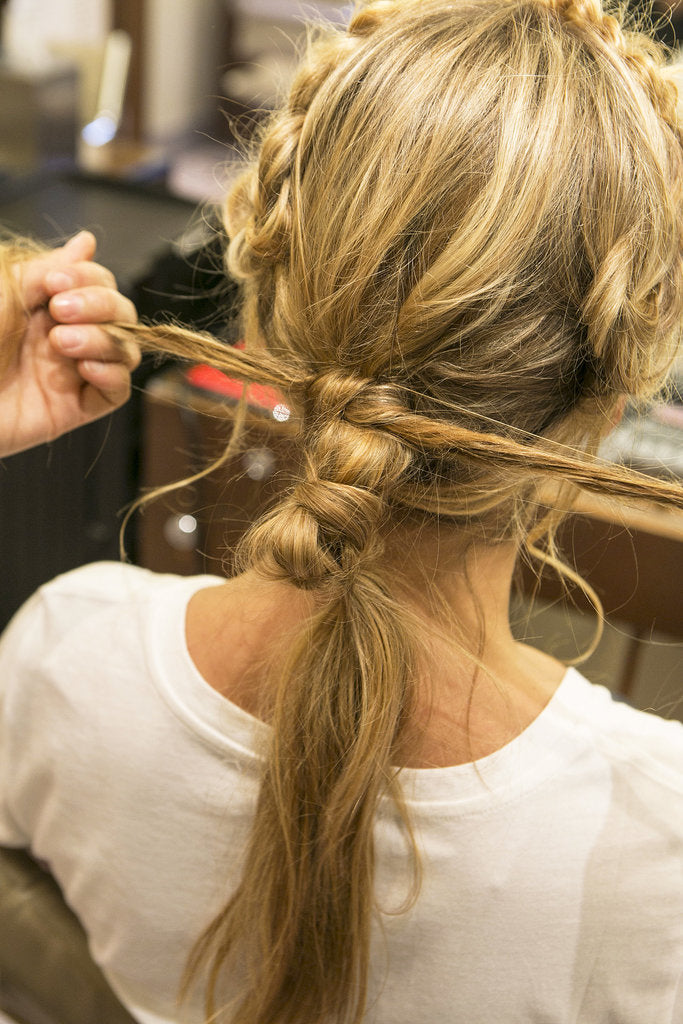
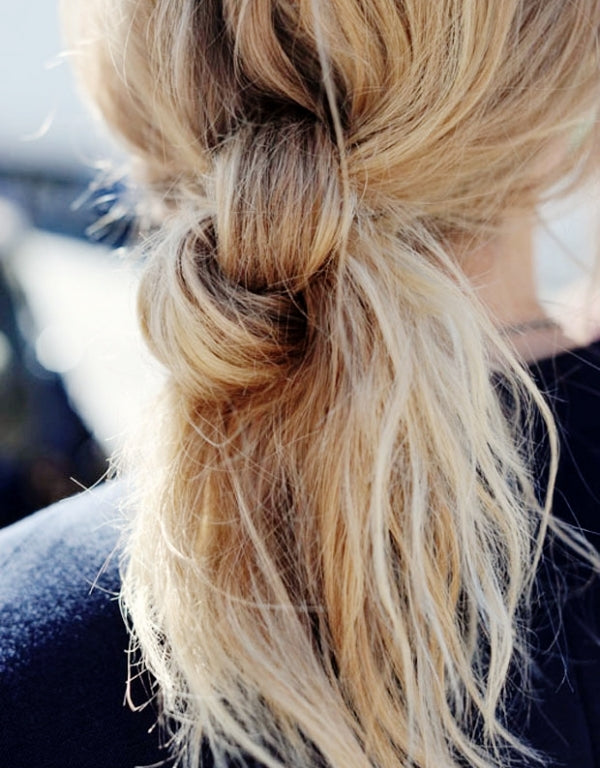
Creating your double knot
Now your middle section is, literally, all wrapped up focus on forming your knot. The trick is to use the end of the sections you were wrapping around. Create a big knot the way you would create a knot in your shoelaces then take the ends around the back of your ponytail. On the underneath, section creates another three to five knots and secure with an elastic hair tie.
Your finishing touches
This style is elaborate as it is so adding bows or any other big accessories is a major no-no. keep this part simple. Just add some mouse to your ponytail and scrunch it from the underneath to form messy waves or at least a bit more texture. If your hair is quite dry make sure you add a bit of serum over the top and don’t forget to spritz on your alcohol-free hairspray so it won’t budge. Be prepared to receive some hair envy from your friends.
The post Get that look: Knotted ponytail appeared first on Hair Extensions News.


POST COMMENTS
Leave a comment